| SAMS2 Administration | ||
|---|---|---|
| Configure SAMS2 | Table of Contents | WEB interface settings |
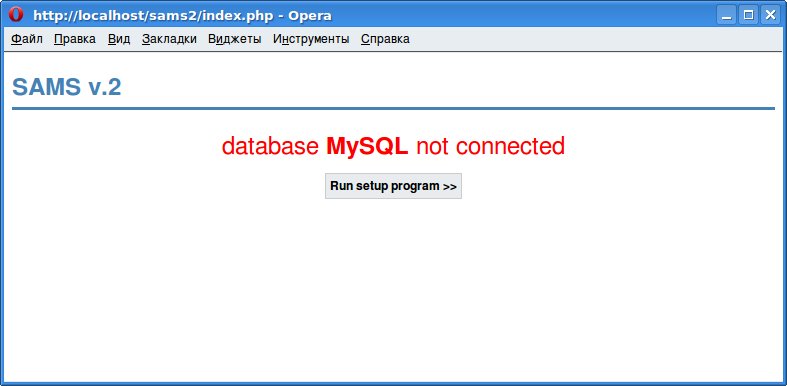
Open a web browser. In the address or URL field, type the IP address or host name that is defined for the SAMS2 web interface:
http://yourservername/sams2
This error occurs when the web interface is unable to connect to the database.
If you use PostgreSQl, this error says that the database isn't created or an identification error.
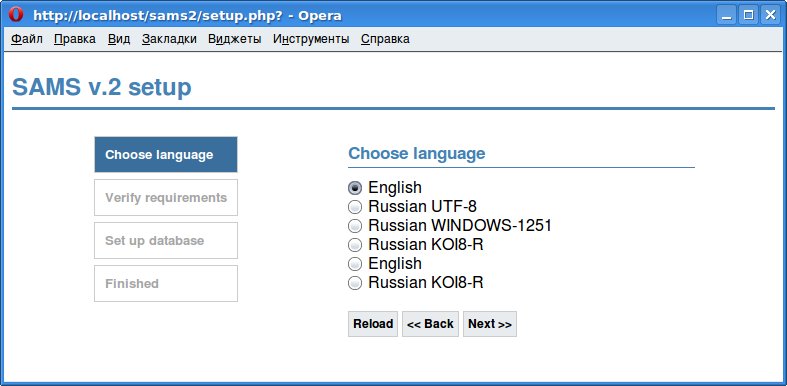
Start a wizard of creation of tables to SAMS2 database
Step 1 - Language Choice
Step 2 - Pre-installation Check
The next screen is SAMS2 confirmation of what you hopefully already know if you followed the earlier advice of using phpinfo(). The screen shows whether your server meets all the necessary criteria to successfully use SAMS2 web interface.

Step 3 - Set up the database connection
You will be guided through two screens to set up the database and create tables.

Step 4 - Create database tables

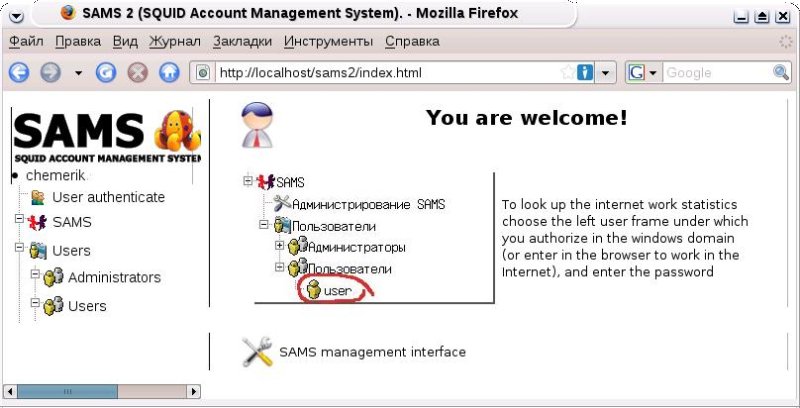
Click the "Next" buttons. The former will open the SAMS2 web interface and will take you to the login screen.
When installed, click "SAMS management interface". use user name admin with password qwerty to connect as SAMS2 superuser.
Enter the username admin and the password you entered in Step 6 of the installation process, before clicking Login.
| Configure SAMS2 | Table of Contents | WEB interface settings |